theGraph quickstart

This guide outlines the process of indexing all transfers and approval events from the Wrapped ETH on ZKsync Era Network.
What you'll learn:
- How to use theGraph
- How to create an indexer
- How to index smart contract data
Deploying graphs is a great way to query data from network historically and in real-time.
The Graph is a decentralized protocol for indexing and querying data from blockchains. The Graph serves queries over data that is easily stored, decentralized, and secured by the blockchain. You will learn how to deploy a subgraph that tracks a specific address on ZKsync Era Mainnet.
Prerequisites
- Knowledge Base: Familiarity with Typescript.
- Wallet Setup: Have MetaMask installed and Setup, ensuring there's a balance on the ZKsync Sepolia Testnet.
- Tooling: This guide utilizes
@graphprotocol/graph-cli. Ensure you have it accessible or installed in your environment.
Understanding subgraphs
A subgraph extracts data from a blockchain, processing it and storing it so that it can be easily queried via GraphQL. DApps often need to fetch data from chain. Instead of querying the chain directly, which can be slow and expensive, DApps can use subgraphs to quickly retrieve the data they need.
Key components:
- subgraph.yaml: a YAML file containing the subgraph manifest.
- schema.graphql: a GraphQL schema that defines what data is stored for your subgraph, and how to query it via GraphQL.
- AssemblyScript Mappings: AssemblyScript code that translates from the event data to the entities defined in your schema.
Environment setup
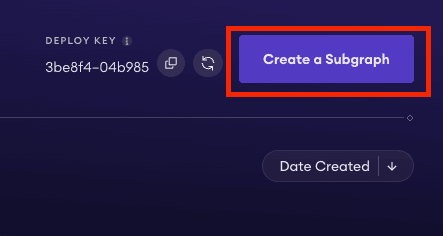
Visit https://thegraph.com/studio/, connect your wallet. Next, click the button to create a new subgraph:
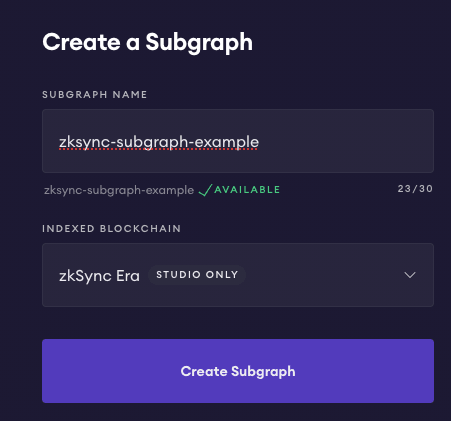
Enter the name of the subgraph, and select the ZKsync Era as the network:
Install the @graphprotocol/graph-cli:
npm install @graphprotocol/graph-cli
Generate subgraph
To generate a subgraph using the graph-cli, run the following command:
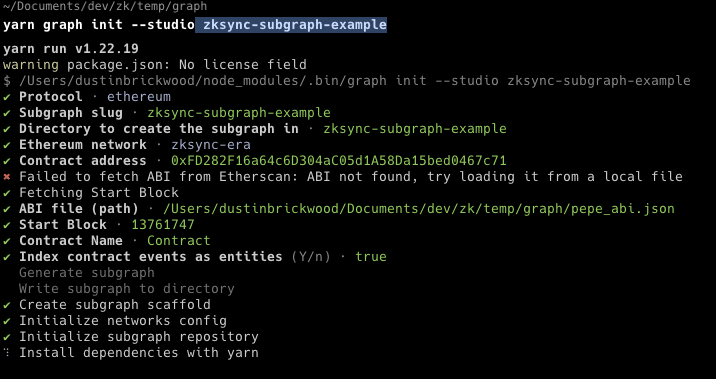
npm graph init --studio zksync-subgraph-example
Begin initializing the project with the following item options:
- Select
Ethereumas the protocol - Select
zksync-eraas the Ethereum network - Provide the contract address you wish to track, for this tutorial, the PEPE token:
0xFD282F16a64c6D304aC05d1A58Da15bed0467c71 - The CLI will fetch the ABI from the explorer. If the contract is not verified, you can create the ABI manually and provide the path to the file.
- Provide a block number to start indexing from (e.g. 13761747)
- Provide a contract name (e.g. PEPE)
- Indicate
trueto indexing events as entities - Approve the next steps and skip adding another contract
Authenticate and Deploy the Subgraph
In order to authenticate and deploy the generated subgraph, copy the deploy key studio account:
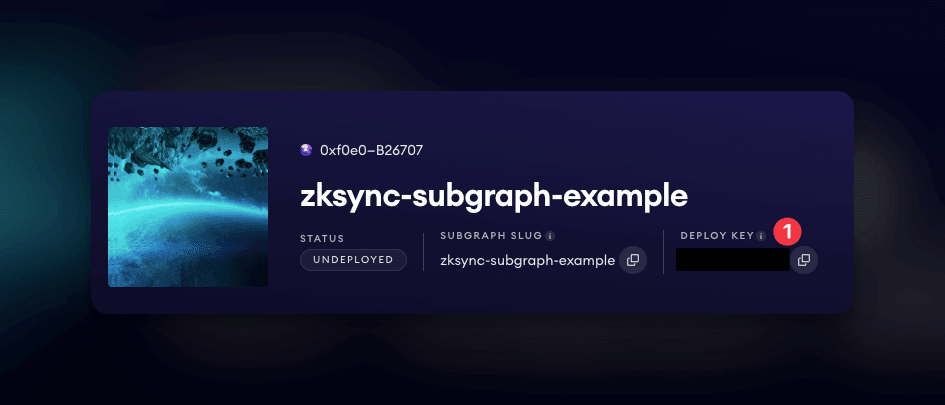 Copy deploy key from The Graph studio
Run auth command:
npm graph auth --studio <DEPLOY-KEY>
Change directory to the subgraph:
cd zksync-subgraph-example
Deploy the subgraph:
npm graph deploy --studio zksync-subgraph-example
Query the Subgraph
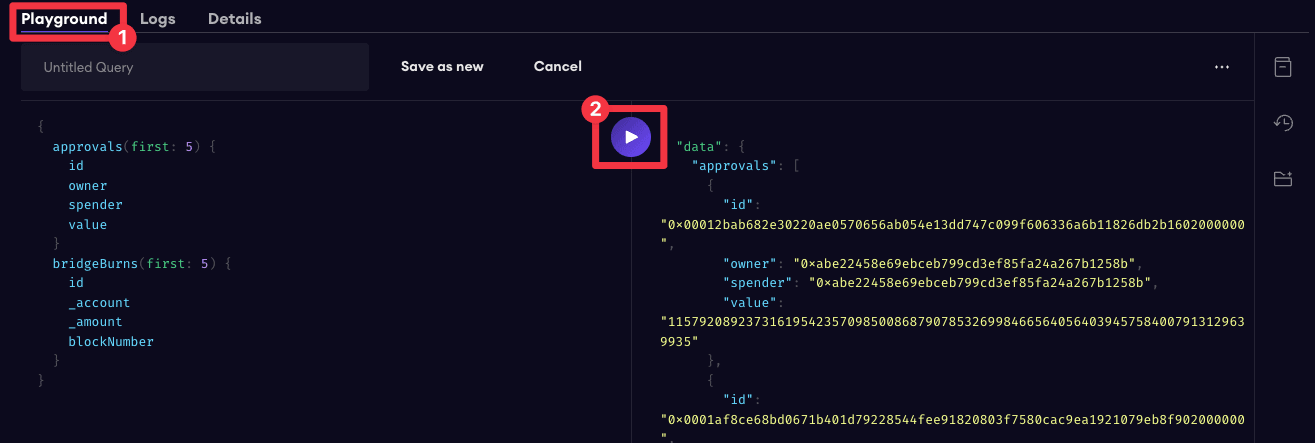
Visit the studio, select the Playground tab, and run the pre-loaded query:
Running a query on our subgraph
To write a custom query, for example, to query the approvals table for a specific owner address:
{
  approvals(where: { owner: "0x7c5a0ce9267ed19b22f8cae653f198e3e8daf098" }) {
    id
    owner
    spender
    value
  }
}
Query the bridgeBurns table for a specific account address:
{
  bridgeBurns(where: { _account: "0x7c5a0ce9267ed19b22f8cae653f198e3e8daf098" }) {
    id
    _account
    _amount
    blockNumber
  }
}
Query the bridgeMints table for a specific account address:
{
  bridgeMints(where: { _account: "0x7c5a0ce9267ed19b22f8cae653f198e3e8daf098" }) {
    id
    _account
    _amount
    blockNumber
  }
}
Conclusion
In this tutorial, you learned how to deploy a subgraph that tracks a specific address on ZKsync Era. Build a frontend application that interacts with the subgraph and is reliant on data from ZKsync Era!