Frontend integration
Step 3 — Frontend Development
/frontend directory.Let’s first break down the project structure within /frontend:
.
├── README.md
├── app
│   ├── assets
│   ├── components
│   ├── constants
│   ├── context
│   ├── favicon.ico
│   ├── globals.css
│   ├── hooks
│   ├── layout.tsx
│   ├── page.tsx
│   └── types
├── next-env.d.ts
├── next.config.js
├── package.json
├── postcss.config.js
├── public
├── tailwind.config.js
└── tsconfig.json
- Let's spin up our frontend to see what we need to implement:
yarn dev
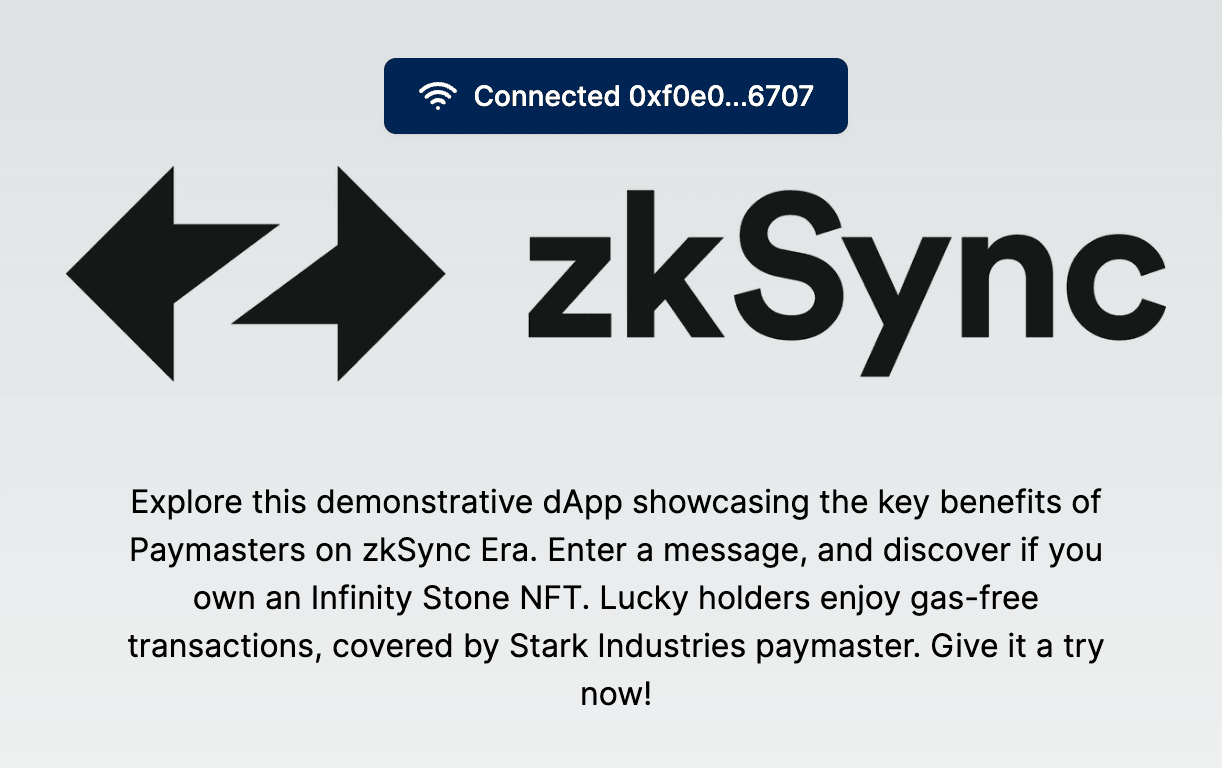
This will start a local server running onhttp://localhost:3000/. You should see something that looks similar to:
Connecting our WalletButton Component
The first component we are going to interact with is the WalletButton component.
- Navigate to
app/components/WalletButton.tsxcd app/components/WalletButton.tsx - Implement the requirements for the
connectWalletfunction
TheconnectWalletfunction requirements indicates that we need to ensure we are connected to the correct network, connect to the users MetaMask account, store some variables using React's Context API, and then callinitContractsfunction to instantiate our contracts. Let's proceed to do that:app/components/WalletButton.tsxconst connectWallet = async () => { if (!networkOk) await switchNetwork(); try { if ((window as any).ethereum) { const provider = new Web3Provider((window as any).ethereum); web3Context.setProvider(provider); const data = await provider.send("eth_requestAccounts", []); const signerInstance = provider.getSigner(); web3Context.setSigner(signerInstance); setWallet({ address: data[0], acc_short: shortenAddress(data[0]) }); await initContracts(provider, signerInstance); } } catch (error) { console.error("Error connecting DApp to your wallet"); console.error(error); } }; - Great! Let's continue within our
WalletButtoncomponent and implement theinitContractsfunction.
TheinitContractsfunction should instantiate our Greeter and NFT token contracts, check if the connected wallet contains our specific NFT, and if so fetch the NFT metadata from IPFS and store some variables using React's Context API. Copy and paste the below code snippet.app/components/WalletButton.tsxconst initContracts = async (provider: Web3Provider, signer: Signer) => { if (provider && signer) { const greeterContract = new Contract(GREETER_ADDRESS, GREETER_CONTRACT_ABI, signer); web3Context.setGreeterContractInstance(greeterContract); const fetchedGreeting = await greeterContract.greet(); web3Context.setGreetingMessage(fetchedGreeting); const nftContract = new Contract(NFT_CONTRACT_ADDRESS, NFT_CONTRACT_ABI, signer); const address = await signer.getAddress(); const balance = await nftContract.balanceOf(address); if (balance > 0) { let ownedStones: PowerStoneNft[] = []; const ownedTokensResponse = await nftContract.tokensOfOwner(address); for (let i = 0; i < ownedTokensResponse.length; i++) { const tokenId = ownedTokensResponse[i]; const tokenURI = await nftContract.tokenURI(tokenId); if (tokenURI == undefined || tokenURI == "") { continue; } const response = await fetch(tokenURI); if (!response.ok) { continue; } ownedStones.push((await response.json()) as PowerStoneNft); } web3Context.setNfts(ownedStones); } else { web3Context.setNfts([]); } } };
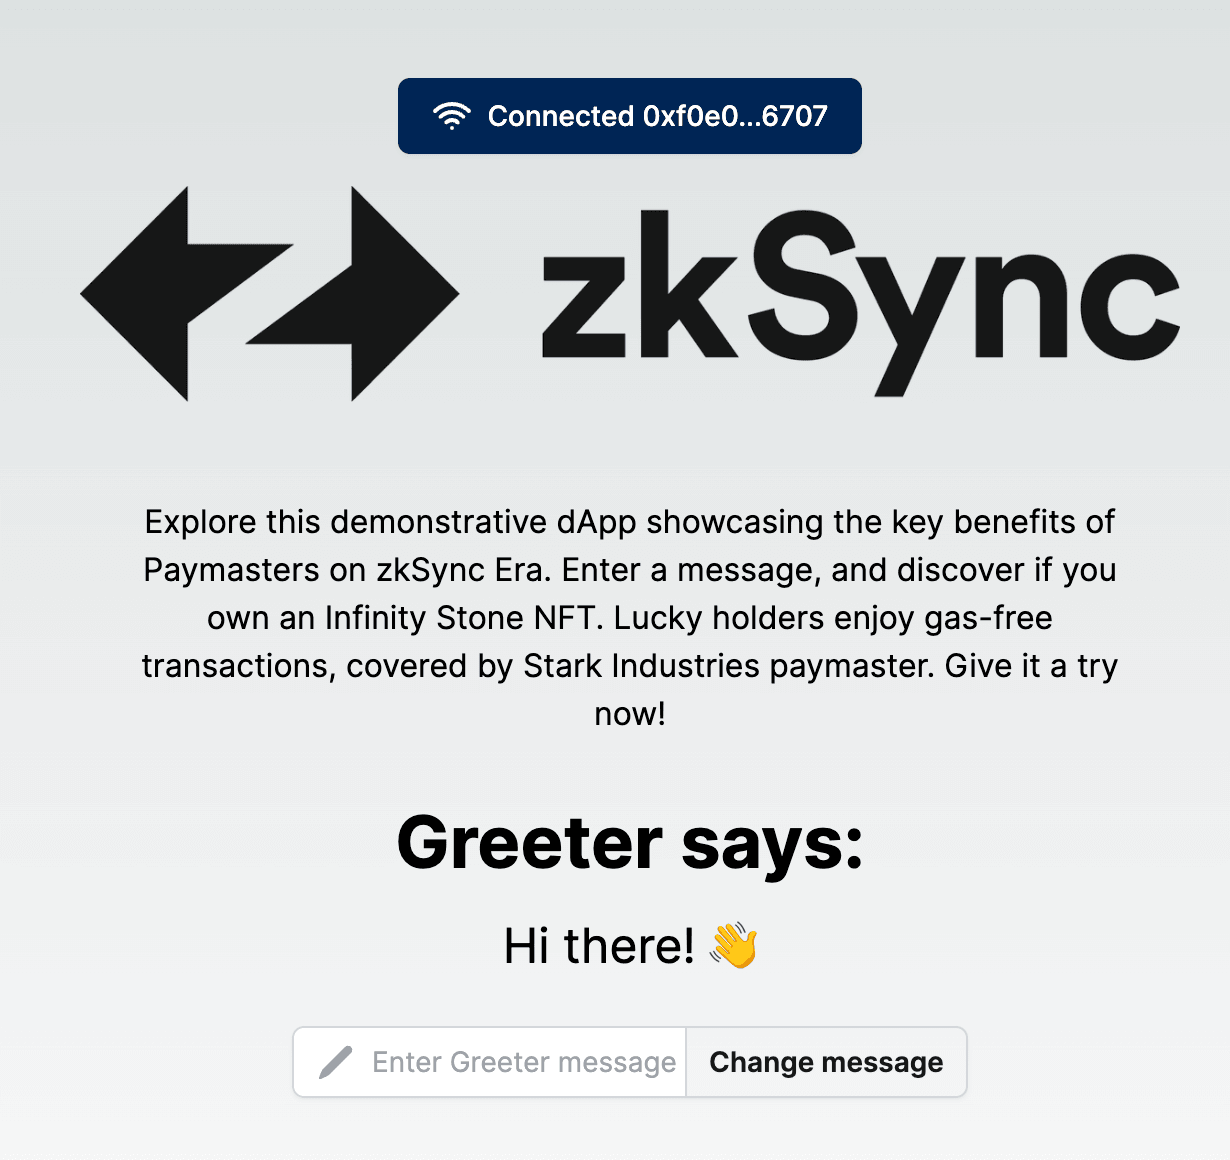
We can now return to our running local page and click the 'Connect Wallet' button which should connect to your MetaMask account as depicted in the below image.
We have connected our wallet to our application but we now need to add our GreeterMessage and Input components.
Importing the GreeterMessage and Input Components
- Navigate to
app/page.tsx
Scrolling to the button you can see the requirements outlined. We need to import our components and pass the specified props. Let's first import our components at the top of the file:app/page.tsximport Greeting from "./components/GreeterMessage"; import Input from "./components/Input"; - Add the components to the return statement and pass desired propsapp/page.tsx
<Greeting greeting={web3Context.greeting} />
<Input
    greeterInstance={web3Context.greeterContractInstance}
    setGreetingMessage={web3Context.setGreetingMessage}
    provider={web3Context.provider}
    nfts={web3Context.nfts}
/>
Now if we check our local page we can see our rendered Greeter message and Input box!
Fetching the Gas details and adding the Modal Component
- Navigate to
app/components/Input.tsxcomponent
We need to write ourestimateGasfunction as we will want to pass those details to ourModalcomponent to display. - Implement
estimateGasfunction
We want to display the current gas price, estimate the amount of gas required to execute oursetGreetingtransaction, and store these variables to be used later.app/components/Input.tsxasync function getEstimate() { if (!provider) return; let gasPrice = await provider.getGasPrice(); let price = ethers.utils.formatEther(gasPrice.toString()); setPrice(price); if (!greeterInstance) return; let gasEstimate = await greeterInstance.estimateGas["setGreeting"](message); let gas = ethers.utils.formatEther(gasEstimate.toString()); setGas(gas); let transactionCost = gasPrice.mul(gasEstimate); let cost = ethers.utils.formatEther(transactionCost.toString()); setCost(cost); } - Add
Modalcomponent to return statementapp/components/Input.tsx{ isOpen && ( <Modal closeModal={closeModal} greeterInstance={greeterInstance} message={message} setGreetingMessage={setGreetingMessage} cost={cost} price={price} gas={gas} nfts={nfts} /> ); }
This will open the Modal component once the "Change message" button is clicked.
Setup our Paymaster Hook
We are ready to implement our paymaster hook which will be used if the connected wallet possesses one of the applicable NFT's we minted earlier.
- Navigate to
app/hooks/usePaymaster.tsx
The requirements outline we need to prepare and return thepaymasterParamsto then be passed alongside thesetGreetingtransaction.app/hooks/usePaymaster.tsxconst usePaymaster = async ({ greeterInstance, message, price }: PaymasterProps) => { let gasPrice = ethers.utils.parseEther(price); const paymasterParams = utils.getPaymasterParams(PAYMASTER_CONTRACT_ADDRESS, { type: "General", innerInput: new Uint8Array(), }); const gasLimit = await greeterInstance.estimateGas.setGreeting(message, { customData: { gasPerPubdata: utils.DEFAULT_GAS_PER_PUBDATA_LIMIT, paymasterParams: paymasterParams, }, }); return { maxFeePerGas: gasPrice, maxPriorityFeePerGas: ethers.BigNumber.from(0), gasLimit: gasLimit, customData: { gasPerPubdata: utils.DEFAULT_GAS_PER_PUBDATA_LIMIT, paymasterParams: paymasterParams, }, }; };
We have prepared our paymasterParams to be used in our application!
Let's navigate to our last component that needs to be implemented, the Checkout component.
Implement updateGreeting function in the Checkout component
This function is responsible for initiating the transaction that will interact with our Greeter.sol contract to update the message.
It will check if the connected wallet contains our specific NFT and if so,
call our usePaymaster hook created above to pass along the paymasterParams to facilitate a gasless transaction for the user.
Without the NFT, the user will be required to pay the gas fee.
- Import
usePaymasterhook in theCheckoutcomponentimport usePaymaster from "../hooks/usePaymaster"; - Implement the
updateGreetingfunctionconst updateGreeting = async ({ message }: GreeterData) => { try { if (greeterInstance == null) { return; } let txHandle; if (hasNFT) { const params = await usePaymaster({ greeterInstance, message, price }); txHandle = await greeterInstance.setGreeting(message, params); } else { txHandle = await greeterInstance.setGreeting(message); } await txHandle.wait(); const updatedGreeting = await greeterInstance.greet(); setGreetingMessage(updatedGreeting); } catch (error) { console.error("Failed to update greeting: ", error); } };
Amazing we have successfully implemented all our frontend requirements! Now its time to test the application.
Step 4 — Test the Application
Navigate to http://localhost:3000 and refresh the page.
Click on "Connect Wallet" to link your MetaMask account.
Ensure you connect the address that received the minted NFT during contract deployment; otherwise, you'll bear the gas fees!
- Input your own message into the
Inputcomponent - Click the "Change message" button
- If you have the right NFT you should be presented with the below image:
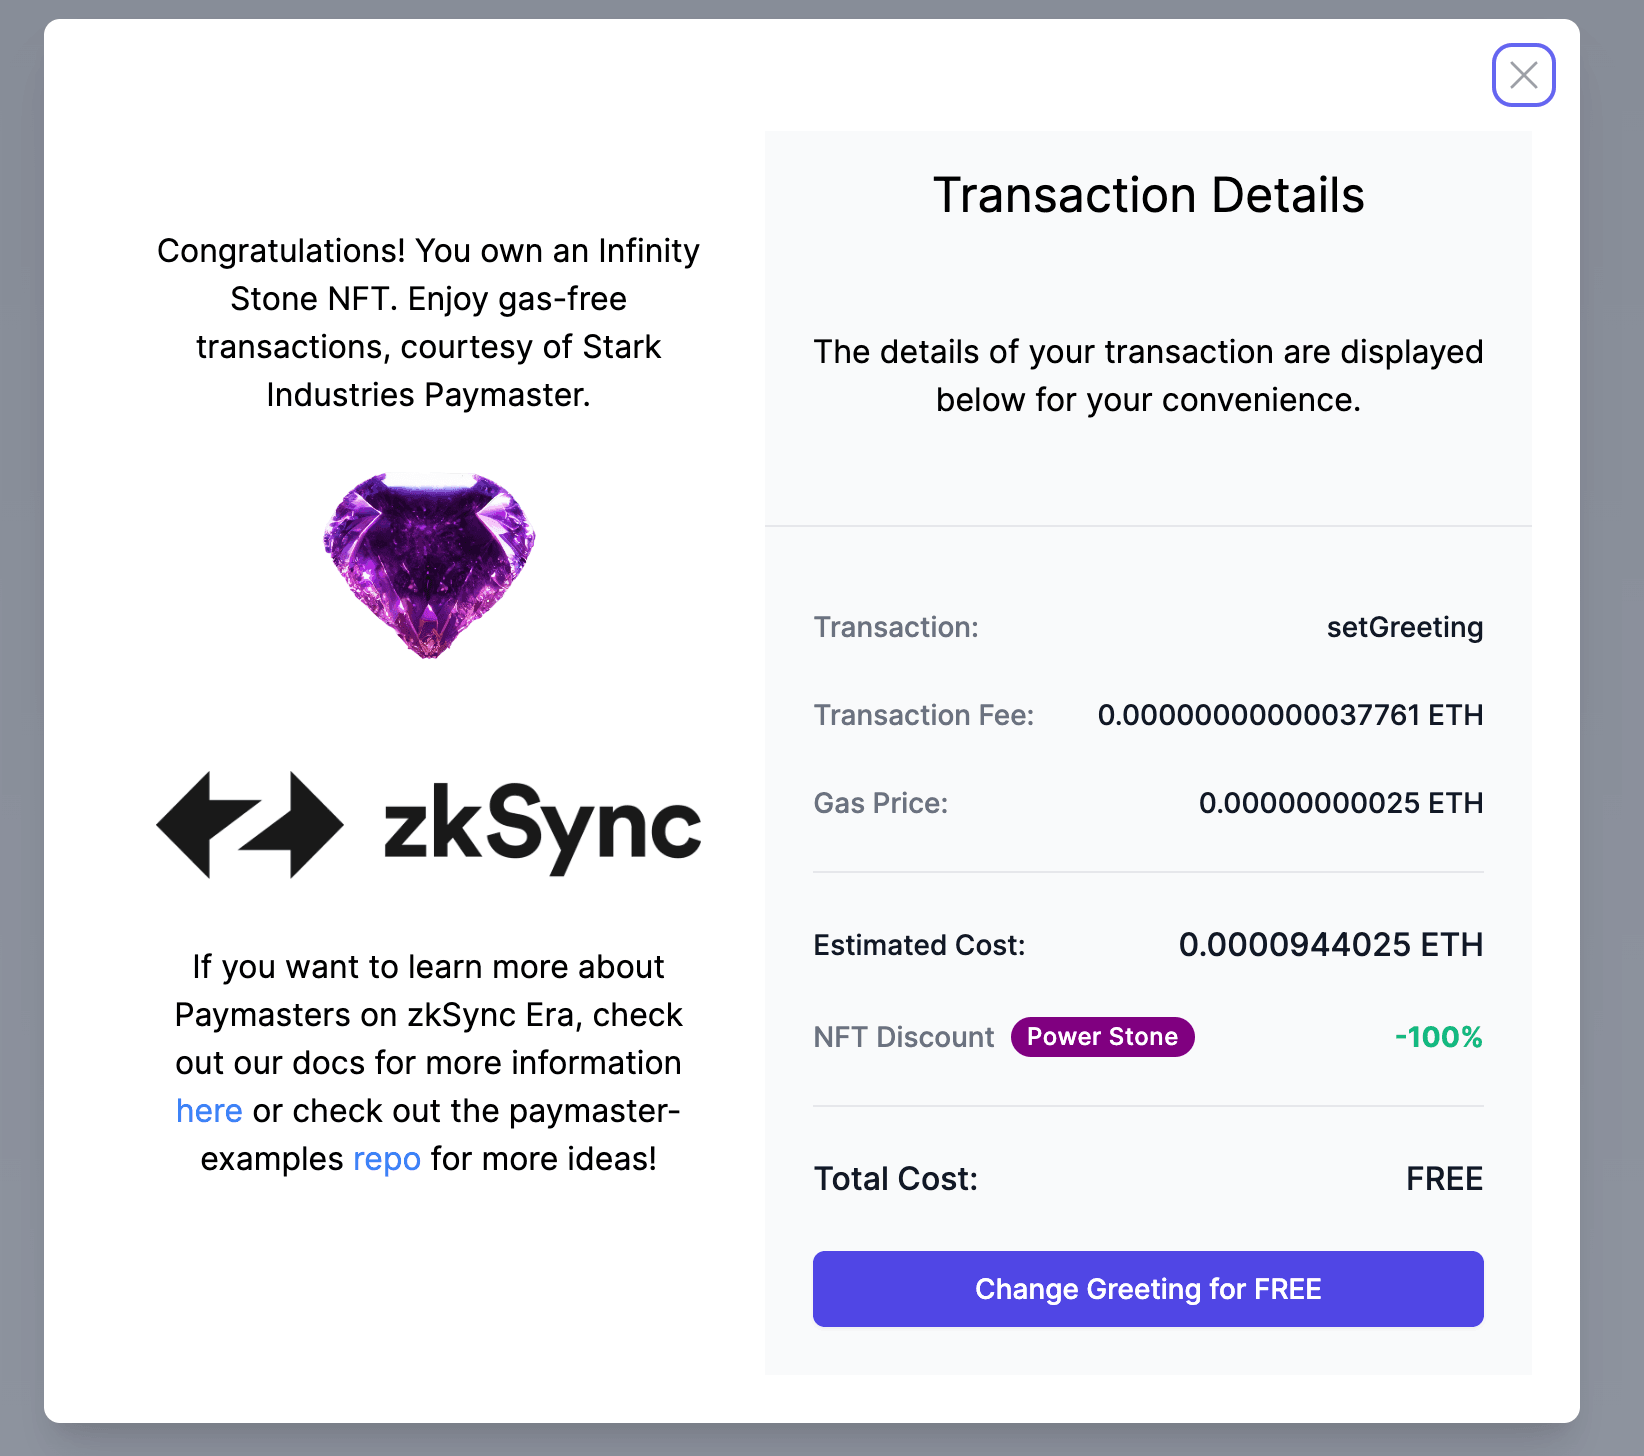
- Enjoy a gasless transaction!
Conclusion
As we conclude, you've not only set up and run a seamless integration between a frontend and ZKsync Sepolia Testnet but have also gained hands-on expertise. You've connected your MetaMask, engaged with smart contracts, and seen the magic of paymasters unfold right on your local server.
If you want to continue to learn about paymaster or see additional examples checkout the paymaster-examples repo for further inspiration.